
How to Lay a Patio Paving Slabs (Simple Guide)
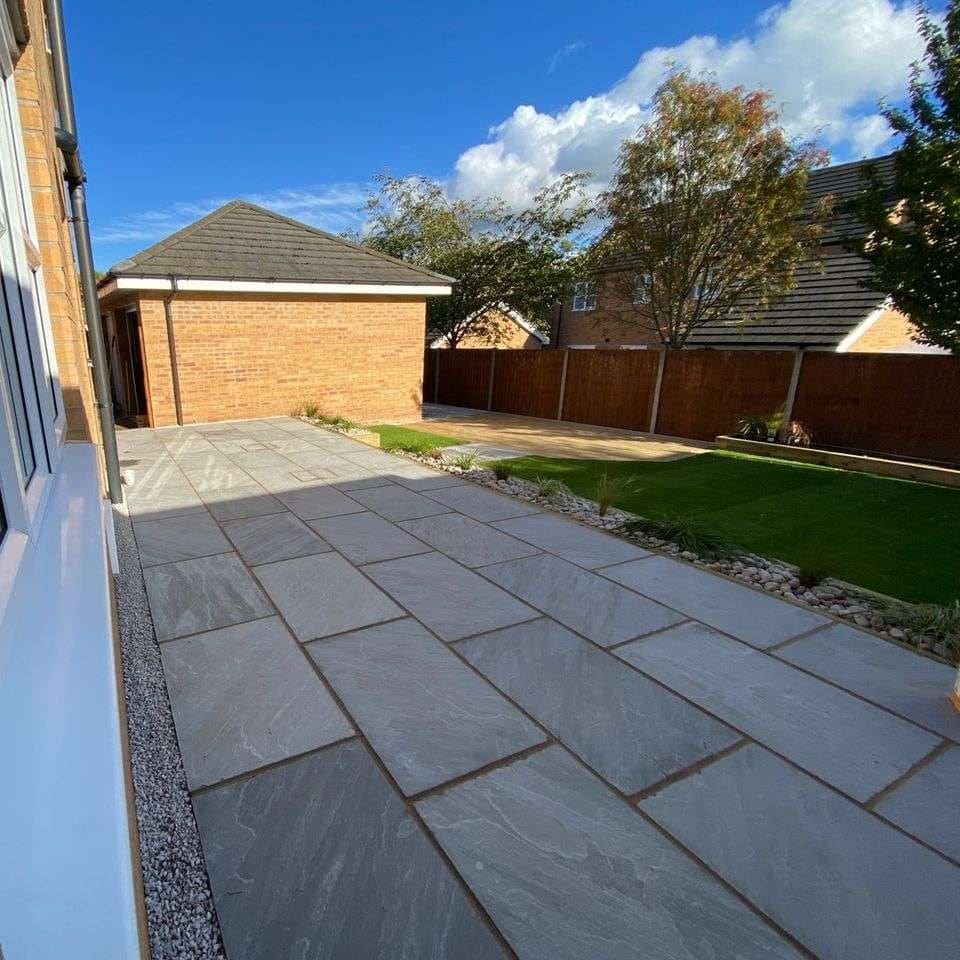
Creating an attractive outdoor space starts with a well-laid patio. Whether upgrading a small garden or transforming a larger landscape, knowing how to lay a patio ensures a strong, lasting finish. This guide walks through each phase of installation, from planning and preparation to sealing and maintenance.
Planning the Patio Installation
Measuring the area and preparing a layout
The first step is to measure the intended patio space carefully. Precision here avoids costly adjustments later. Use a tape measure, marking paint, and pegs with string to define the area. Account for furniture placement, access routes, and drainage. It’s best to sketch a basic plan and keep it visible during the project.
Slab dimensions also influence layout. When using a patio pack, layouts are often modular and designed to minimise cutting. Take note of the pack coverage per square metre to calculate how many will be needed. A dry run — placing slabs without mortar — helps visualise the pattern and ensure spacing is consistent.
Choosing between Porcelain Paving and Sandstone Paving
Both materials have their advantages. Porcelain paving offers a sleek, contemporary finish and excellent stain resistance. Its low porosity means water absorption is minimal, making it ideal for wetter climates. For a textured, natural look, sandstone paving suits traditional gardens and cottage-style settings. Each stone varies in tone, giving a more organic aesthetic.
While both types are durable, their laying requirements differ. Porcelain usually demands a slurry primer on the reverse before being set, while sandstone is more forgiving with mortar alone. Whichever is chosen, ensure the base and bedding layers are suited to the slab type to avoid movement or cracking over time.
Reading the Paving Laying Guide before getting started
Ammaari Stones offers a dedicatedPaving Laying Guide, packed with practical information and visual diagrams. It covers everything from site preparation to jointing tips, which can prevent common installation faults. Whether the project involves porcelain paving or sandstone, the guide is an essential reference for ensuring the right techniques are followed.
Reading it beforehand not only saves time, but also reduces waste. It helps clarify material requirements, curing times, and how weather conditions may impact drying. Professionals and DIY enthusiasts alike benefit from keeping this resource on hand throughout the installation process.
Tools and Materials Needed
What comes in a patio pack
A patio pack typically includes pre-selectedpaving slabsin various sizes, arranged to create a balanced and aesthetically pleasing layout. These packs are designed to make installation simpler, especially for mixed-size patterns. Depending on the supplier, the total coverage usually ranges between 15 and 20 square metres.
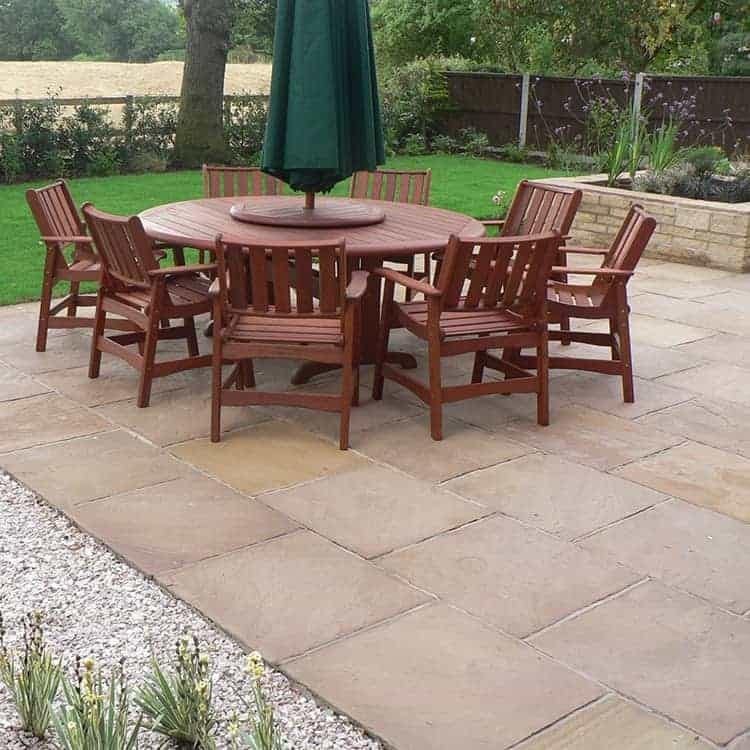
Each pack is calibrated to a standard thickness, ensuring consistency in installation depth. Sandstone patio packs often contain a blend of colours and textures, while porcelain options usually focus on uniformity and clean edges. It’s important to check what’s included before ordering, as edging stones, grout, and priming slurry may need to be purchased separately.
Tools required for cutting and levelling
The right tools are crucial for both safety and finish quality. A rubber mallet helps tap slabs into place without cracking them. A spirit level ensures accuracy, particularly when working to a specific fall for water runoff. A measuring tape and builder’s square are essential for layout accuracy.
Cutting slabs may require either a wet saw with a diamond blade or an angle grinder with a stone-cutting disc. Porcelain slabs demand more precise equipment due to their density, while sandstone is softer and easier to trim. Always score the surface before attempting full cuts to reduce the chance of breakage.
Safety gear and preparation checklist
Before beginning any groundwork, assemble essential safety gear. Protective gloves, steel-toe boots, and knee pads should be worn throughout. Eye protection is necessary when cutting slabs, especially porcelain, which can chip or splinter. A dust mask is advisable for dry cutting or working with mortar and cement-based products.
A preparation checklist helps prevent delays. Ensure sub-base materials, sharp sand or cement, priming slurry, jointing compound, and water are all to hand. Weather forecasts should be checked in advance — laying in rain or frost can compromise adhesion and lead to uneven curing.
How to Lay a Patio Pack – Step-by-Step
Excavating and levelling the ground
Excavation sets the foundation for a stable patio. The area should be dug to a depth that accounts for the sub-base, mortar bed, and slab thickness — usually between 150mm and 200mm. Remove all topsoil, vegetation, and debris to prevent shifting or subsidence later on.
Use a rake to level the excavated ground. If installing near a building, the finished patio should sit at least 150mm below the damp-proof course and slope away at a 1:60 gradient for drainage. Compact the base soil with a plate compactor to ensure it’s solid before layering additional materials.
Creating a solid sub-base
A sub-base of MOT Type 1 is standard practice for most patio installations. Spread the material in layers no thicker than 50mm and compact each one thoroughly. Aim for a total depth of around 100mm to provide adequate strength.
Poor compaction leads to movement underfoot and cracking over time. If installing on clay or soft ground, consider using a geotextile membrane beneath the sub-base to add stability and reduce weed growth. This is particularly useful whenlaying sandstone paving, which is more permeable and may allow plant growth between joints if improperly installed.
Mixing and applying the mortar
A strong mortar mix forms the backbone of a successful patio. For most slab types, a 4:1 or 5:1 ratio of sharp sand to cement is recommended. The consistency should be moist and crumbly — not too wet — to hold the slabs securely while allowing for adjustments during placement. Dry spots or overly sloppy mixes will compromise the slab’s stability and lead to early failure.
Spread the mortar in small, manageable sections rather than covering the whole area at once. This prevents it from drying out before the slabs are placed. Each slab should be bedded into a full mortar layer, not spot-bedded. Spot-bedding causes voids beneath the surface, which may result in cracking or rocking once weight is applied. Press each slab down firmly, using a rubber mallet to tap it into position. Consistent pressure across all slabs helps maintain level surfaces and avoids trip hazards.
In the case ofporcelain paving, always apply a slurry primer to the underside before laying it on the mortar bed. This enhances adhesion, forming a secure bond between the slab and mortar. Without it, porcelain may lift or shift over time due to its low porosity and smooth finish. Allow at least 10mm of mortar under each slab, adjusting as needed to maintain a consistent level across the patio.
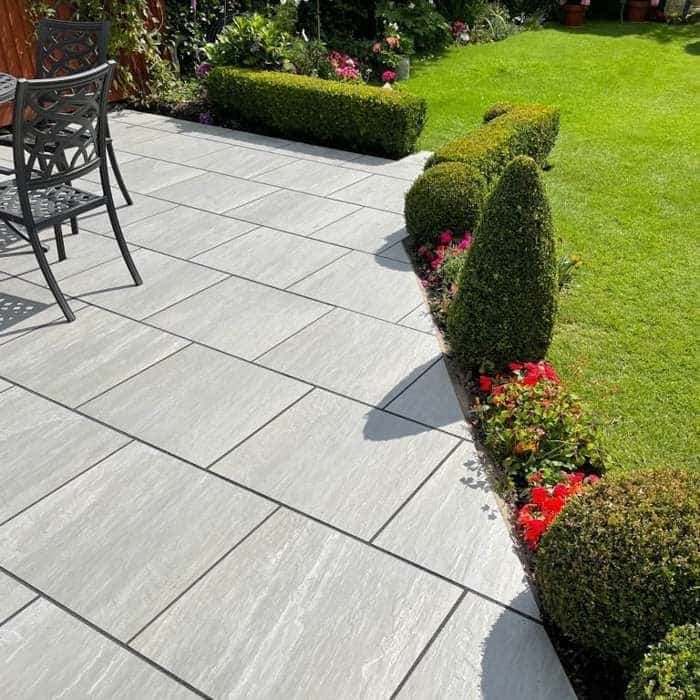
Laying the slabs with the correct fall
Drainage is often overlooked, yet it’s one of the most critical factors in long-term performance. Every patio should be laid with a fall of at least 1:60 — roughly 16mm per metre — away from buildings or fixed structures. This ensures rainwater drains off the surface instead of pooling or running towards the property, which can cause damp issues or structural damage.
Start laying slabs from a corner or along a straight edge, especially if installing a predefined pattern from a patio pack. Work in rows, keeping joint widths consistent, typically between 8–12mm, depending on the slab type. Using spacers helps maintain uniform gaps while also improving the appearance of the final layout. Continually check alignment with a string line or laser level, making corrections as needed.
Regularly stand back and review the layout as it progresses. Laying sandstone paving or porcelain requires patience and a careful eye, as subtle shifts can throw off the symmetry of the entire design. If adjustments are needed, lift and reposition the slab while the mortar is still workable. Never force a slab into position, as this may cause it to crack or dislodge neighbouring pieces.
Cutting edges and fitting the final pieces
Once the main body of the patio is complete, edge pieces and awkward gaps need to be filled. Cutting slabs should be done using the correct tools — a wet saw for porcelain and either an angle grinder or hammer and chisel for sandstone. Accurate cuts make a significant difference to the finish, especially along borders or curved paths.
Before making any cut, measure carefully and mark both sides of the slab. For complex shapes, creating a cardboard template helps ensure accuracy. Always cut in a safe area with protective equipment, keeping a bucket of water or hose nearby to suppress dust. For a neater finish, smooth any rough edges using a diamond file or sanding block.
Fitting the cut slabs into the remaining spaces may require a thinner mortar bed or adjustments to the existing layout. Check levels carefully and tap gently into place. Avoid leaving thin slivers of stone, as these are prone to cracking. Where possible, trim larger pieces to create a stronger edge fit that blends with the overall design.
Checking alignment and levelling
As the final slabs are placed, careful alignment becomes increasingly important. A level patio is not just about appearance — it impacts functionality and safety. Use a long spirit level and a straight edge across several slabs at a time, rather than checking them individually. This helps identify inconsistencies in the wider surface and corrects dips or rises before the mortar sets.
Laying sandstone paving, in particular, requires precision during this stage. Each slab may vary slightly in thickness, which adds charm but also demands more attention when adjusting levels. Porcelain paving, on the other hand, is manufactured with consistent dimensions, making it easier to keep flush lines — though the margins for error are smaller, especially along long runs or borders.
Check fall direction frequently by placing the level on a slight incline. Water should naturally run away from buildings and pooling areas. Use small offcuts or wedges to temporarily adjust heights where needed. When all slabs are laid, walk gently across the surface and listen or feel for rocking slabs. These should be lifted and rebedded with fresh mortar to prevent future instability.
Jointing and Finishing
Applying grout and jointing compound
After laying is complete and mortar has had sufficient time to firm up — typically 24 to 48 hours — the next step is jointing. For most patios, a flexible jointing compound is recommended. It fills the gaps, prevents weed growth, and creates a weather-resistant seal between slabs. For sandstone, a brush-in compound works well and complements its textured surface.
Before applying any compound, ensure all joints are dry and free from loose debris. If using a slurry jointing method — more common with porcelain — extra care is needed to avoid staining. Masking the surface or pre-wetting it can help reduce absorption, especially with lighter-coloured slabs.
Work in small sections to avoid overexposure, and always follow the product’s curing instructions. Some compounds set quickly, especially in warm conditions, so speed and precision are essential. Once applied, use a jointing tool to press the compound firmly into each joint, removing any air pockets and smoothing the surface for a uniform finish.
Cleaning the slabs post-installation
Jointing residue should be cleaned off the paving surface as soon as possible. Leaving it too long can lead to haze marks or bonding, particularly on porcelain paving, where pigments from compounds may be more visible. Use a stiff brush and water to remove any excess before it hardens.
If needed, a light acid-based cleaner can be used on some types of stone, but always test it on a spare slab first. Avoid power washing immediately after installation, as this may dislodge unset joints or wash out weaker areas. A soft-bristle broom and bucket of clean water are often all that’s needed during this stage.
Removing dust and debris not only improves the final appearance but also highlights any areas that may need correction or resealing. Once dry, inspect the surface for uniformity in colour and spacing. A well-laid patio should appear even, clean, and free from residue or smear marks — a sign of professional-level installation.
Final checks and curing time
Allow a minimum of 48 hours before using the patio for light foot traffic, and at least 5–7 days before placing any heavy furniture or planters. During this time, avoid exposing the surface to extreme weather — heavy rain, direct sun, or frost can affect curing rates and reduce adhesion quality.
Inspect the full surface again after the initial cure. If any minor shifting or settling has occurred, now is the time to recompact joints or top up areas with fresh compound. It’s normal for slight adjustments to be required, especially if the patio was laid during cooler or wetter conditions.
For anyone following thePaving Laying Guide, this stage provides reassurance that the process was correctly executed. Long-term durability depends on allowing each material to settle and cure fully before putting it under stress — a final, but often overlooked, step that separates rushed jobs from lasting results.
Common Mistakes to Avoid
Misjudging drainage angles
One of the most frequent issues in patio installation is improper drainage. If slabs are laid completely level or with the fall angled towards a property, rainwater will collect in pools or, worse, seep toward the foundation. This not only risks long-term damage to the structure but can lead to algae, moss growth, and icy surfaces in colder months. Always plan for a gentle gradient, usually 16–20mm per metre, and regularly check it while laying each row. Even a small deviation can result in water pooling in unexpected spots.
Skipping compaction or base layers
The temptation to save time by reducing excavation depth or skipping sub-base layers leads to expensive corrections down the line. A properly compacted MOT Type 1 sub-base, ideally 100mm thick, is essential for both load-bearing strength and longevity. Laying directly onto soft ground or patchy mortar causes slabs to sink, shift, or crack under minimal weight. The importance of groundwork cannot be overstated — it’s the hidden part of the job that holds everything together.
Laying in poor weather conditions
While it may seem efficient to crack on regardless of the weather, laying a patio during heavy rain or freezing temperatures is a gamble. Mortar requires a stable environment to cure properly. Excess moisture washes out cement content, while frost causes it to expand and break apart before it hardens. Ideal conditions include mild temperatures with minimal wind and no risk of sudden showers. Always check the weather forecast ahead of time and delay if conditions are not favourable. It’s better to wait than to re-lay.
Patio Maintenance Tips
Seasonal care for Porcelain and Sandstone
Each material benefits from seasonal upkeep. Porcelain paving, with its non-porous surface, requires little more than a regular sweep and occasional wash to maintain its sleek look. Algae and moss struggle to take hold, making it ideal for shaded areas. Sandstone, being more porous, can develop surface stains or slight weathering over time. A light pressure wash each spring removes built-up grime, while applying a breathable sealer every few years enhances colour and adds protection from the elements.
Preventing weed growth and staining
Even the most carefully laid patio can suffer from weeds if joints aren’t properly sealed. Jointing compounds that harden fully are the best defence, forming a barrier against seeds and water penetration. Still, overhanging plants and leaf litter can introduce organic debris that fosters weed growth. A regular sweep every couple of weeks, particularly in autumn, helps keep the surface clean. Where stains do appear, a diluted patio cleaner or specialist stone product will lift them without damaging the surface.
When to reseal or re-grout paving slabs
The need to reseal or re-grout depends on the material and how much wear the patio receives. High-traffic areas and porous surfaces like sandstone benefit from resealing every two to three years. This helps maintain the stone’s appearance and prevents moisture absorption. For porcelain, resealing is rarely required unless the slab has textured surfaces prone to dirt accumulation. Grouting should be checked annually — if cracks appear or sand starts to loosen, it’s time to top up or replace the affected joints.
The Top 3 Choices for Outdoor Porcelain Paving
When consideringThe Top 3 Choices for Outdoor Porcelain Paving, three options consistently stand out for their quality and popularity.
- Grey Porcelain Slabs– These offer a neutral, contemporary look that pairs well with almost any garden style. They’re especially effective in modern spaces, where clean lines and minimal design are prioritised.
- Beige or Cream Porcelain– Lighter tones brighten shaded gardens and add warmth to traditional landscapes. They reflect more light, making smaller areas feel more open.
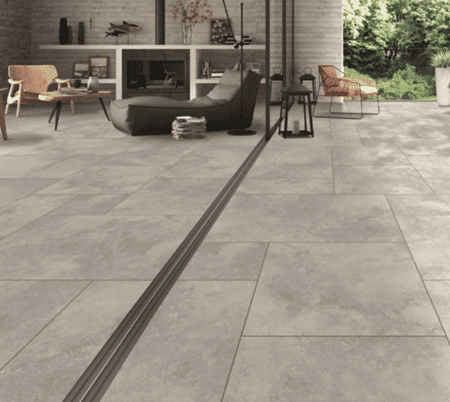
- Textured or Slate-Effect Porcelain– These replicate the natural variation of real stone while offering the resilience of porcelain. They’re often chosen for their slip resistance and realistic finish, making them suitable for high-use areas like paths and terraces.
Each of these options can be found inAmmaari Stonescurated selection, offering both visual appeal and lasting performance for outdoor living spaces.

0 comments on “How to Lay a Patio Paving Slabs (Simple Guide)”